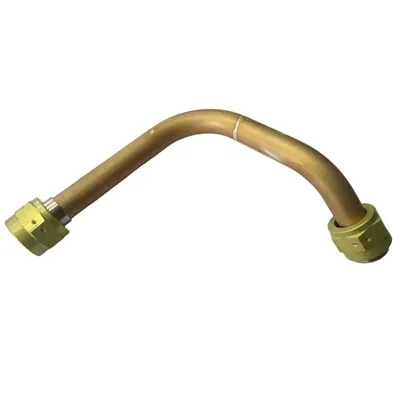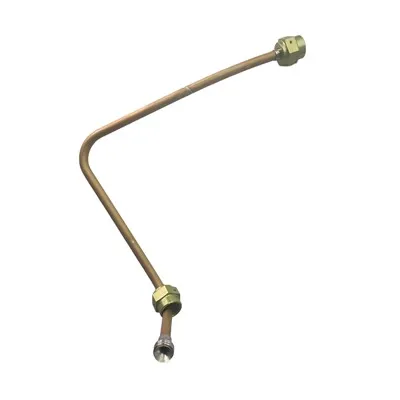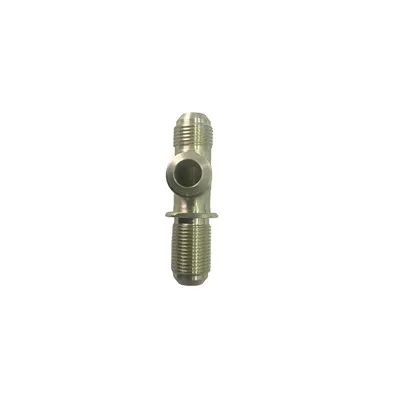

Hey there! I'm a supplier of Swivel Joint Pipe Fittings, and I'm here to walk you through the process of replacing a damaged swivel joint pipe fitting. It might seem like a daunting task, but with the right steps and a bit of know - how, you'll have it sorted in no time.
Why Replace a Damaged Swivel Joint Pipe Fitting?
First off, let's talk about why you'd even want to replace a damaged swivel joint. A faulty swivel joint can lead to all sorts of problems. It might cause leaks, which can waste precious fluids and even damage the surrounding area. In some industrial settings, leaks can be a safety hazard. Also, a damaged swivel joint can affect the overall performance of your piping system. It might restrict the flow of fluids or cause vibrations that can wear down other components over time.

Tools You'll Need
Before you start the replacement process, you'll need to gather a few tools. You'll need a pipe wrench, which is essential for loosening and tightening the fittings. A hacksaw might come in handy if you need to cut the old pipe. You'll also need some Teflon tape to ensure a good seal on the new fitting. And don't forget a pair of safety goggles and gloves to protect yourself from any sharp edges or debris.
Step 1: Shut Off the Supply
The first thing you need to do is shut off the fluid supply to the pipe. This could be water, gas, or any other type of fluid. You don't want to be working on a live pipe, as it can be dangerous and messy. Locate the main shut - off valve and turn it off. Make sure to double - check that the supply is completely shut off by trying to use any fixtures connected to the pipe.
Step 2: Drain the Pipe
Once the supply is off, you need to drain the pipe. Open any faucets or valves connected to the pipe to let the remaining fluid drain out. This will prevent any spills when you start working on the fitting. You might want to place a bucket or a drain pan under the fitting to catch any remaining fluid.
Step 3: Remove the Old Fitting
Now it's time to remove the old swivel joint pipe fitting. Use your pipe wrench to loosen the nuts on either side of the fitting. Turn the wrench counter - clockwise to loosen the nuts. If the nuts are really tight, you might need to use a bit of force, but be careful not to damage the pipe. Once the nuts are loose, you can pull the old fitting out.
Step 4: Inspect the Pipe
After removing the old fitting, take a close look at the pipe. Check for any signs of damage, such as cracks or corrosion. If the pipe is damaged, you might need to cut out the damaged section and replace it with a new piece of pipe. You can use a hacksaw to cut the pipe. Make sure to cut it straight and clean.
Step 5: Prepare the New Fitting
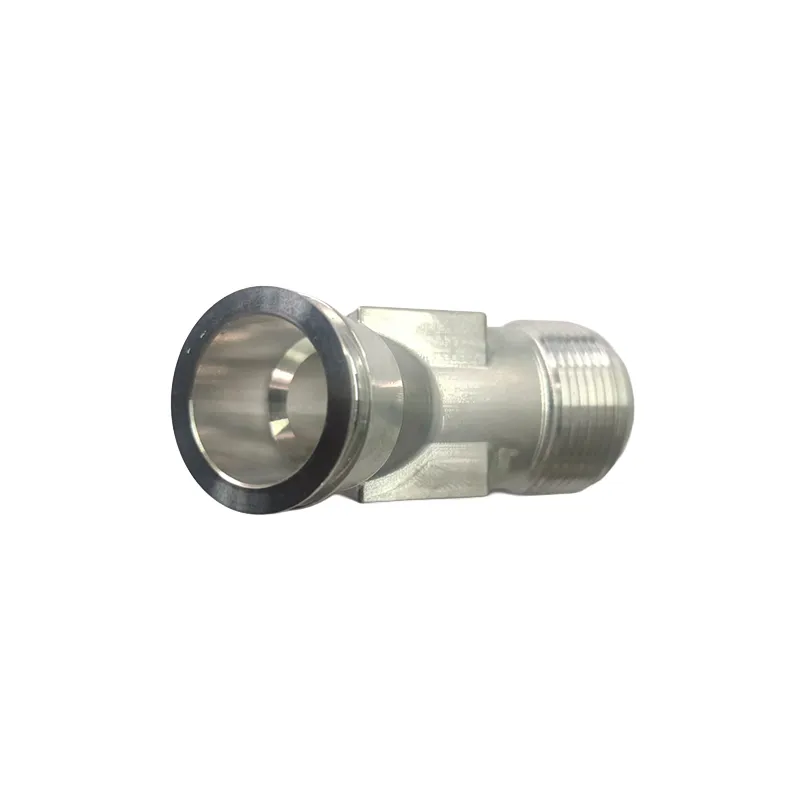
Now it's time to prepare the new swivel joint pipe fitting. Wrap some Teflon tape around the threads of the fitting. This will help create a tight seal and prevent leaks. Make sure to wrap the tape in the same direction as the threads. You can find high - quality Swivel Joint Pipe Fittings on our website.
Step 6: Install the New Fitting
Insert the new fitting into the pipe. Use your pipe wrench to tighten the nuts on either side of the fitting. Turn the wrench clockwise to tighten the nuts. Make sure the fitting is tight, but don't over - tighten it, as this can damage the fitting or the pipe.
Step 7: Check for Leaks
Once the new fitting is installed, turn the fluid supply back on. Check for any leaks around the fitting. If you see any leaks, try tightening the nuts a bit more. If the leaks persist, you might need to remove the fitting and re - wrap the Teflon tape.
Different Types of Pipe Fittings
In some cases, you might need to use other types of pipe fittings along with the swivel joint. For example, a Y Junction Pipe Fitting can be used to split the flow of fluid into two directions. A Tabel Elbow 45 can be used to change the direction of the pipe at a 45 - degree angle. These fittings can be very useful in complex piping systems.
Tips for a Successful Replacement
- Take your time: Rushing through the replacement process can lead to mistakes. Make sure you follow each step carefully.
- Use the right tools: Using the wrong tools can damage the fitting or the pipe. Make sure you have the correct tools for the job.
- Inspect the fitting: Before installing the new fitting, make sure it's in good condition. Check for any cracks or defects.
Contact Us for Your Pipe Fitting Needs
If you're in the market for high - quality swivel joint pipe fittings or any other types of pipe fittings, we're here to help. We have a wide range of products to meet your needs. Whether you're a homeowner doing a small DIY project or an industrial contractor working on a large - scale project, we've got you covered. Don't hesitate to reach out to us for more information or to discuss your specific requirements. We're always happy to help you find the right solution for your piping system.
References
- Plumbing Handbook for Residential and Commercial Buildings
- Pipe Fittings Installation Guide